
Speed drives project delivery, but you must balance rapid completion with strict safety protocols; you reduce fall risk by assigning trained crews, enforcing inspections and using correct equipment. Your planning should set realistic timelines, staged checks and clear responsibility so efficiency does not sacrifice safety. Use guidance such as Five Steps to Safer Scaffolding – Safety Management Group to align practices.
Planning and Risk Assessment
Integrate a method statement with your scaffold design and carry out a documented risk assessment that feeds into daily briefings; you must perform inspections before each shift and after weather events and consult the regulatory baseline at 1926.451 – General requirements. Allocate a 30-minute pre-erection briefing, limit erection teams to 3-6 operatives where practicable to reduce fatigue, and log corrective actions with photographic evidence.
Site hazard identification and risk prioritisation
Survey for utilities, overhead power lines, traffic routes, excavations and access constraints, then score hazards 1-5 with 1 as highest priority; use that matrix to assign mitigations such as exclusion zones, temporary diversions or ground remediation and soleboards where bearing capacity is poor, and ensure overhead power lines and unstable ground receive immediate controls.
Scheduling trade-offs and permit coordination
Weigh speed against human factors and permit lead times: faster programmes can increase overtime and error rates, while arranging road closures, crane lifts or hot‑works permits typically requires a 48-72 hour lead; plan night shifts only with enhanced supervision, lighting and welfare to mitigate the elevated fatigue risk and potential permit delays.
Use a Gantt or CPM model to map critical-path activities, inserting buffers for permit approvals and component delivery; where possible, specify prefabricated bays or modular components to reduce on‑site assembly by up to around 40% in comparable refurbishments, and sequence handovers so you complete access, ties and guardrails on each lift before trade follow‑on work begins; maintain a permit log with contact names, submission dates and expected approval windows to prevent schedule-driven shortcuts.
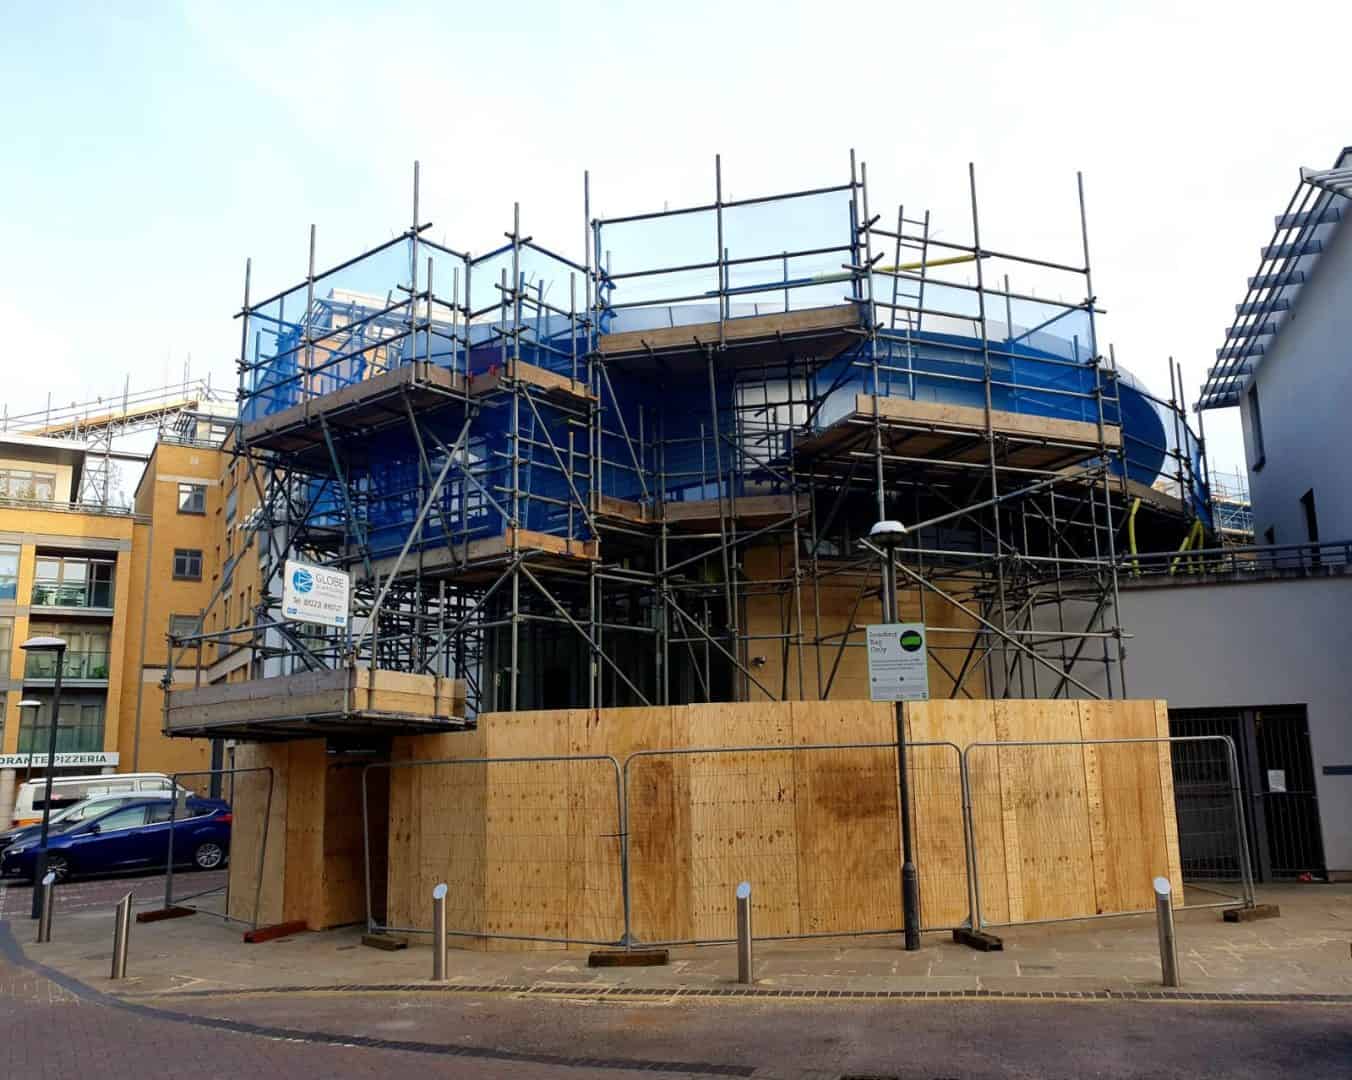
Scaffold Design and Material Selection
Specify materials that balance speed and durability: aluminium for rapid, lightweight assembly on low-rise projects and galvanised steel for long-term, heavy-duty use. You should check decking type (steel, aluminium or timber), connection compatibility and manufacturer load tables; span limits often dictate bay spacing and platform continuity. Prioritise components that reduce handling time-prefabricated decks and couplers that fit by hand cut erection time by up to 30-50%.
System choice (modular vs. tube-and-coupler) and stability factors
Modular systems speed erection through indexed joints and repeatable geometry, while tube-and-coupler gives you unmatched flexibility on irregular façades; modular can be 30-50% faster on routine elevations. Key stability controls include bracing, tie frequency, base restraint and wind loading; common practice sets tie intervals at 4-6 m vertical/horizontal depending on system certification.
- modular
- tube-and-coupler
- stability
The choice directly affects inspection points, erection crew skill and contingency planning.
Load capacity, foundation and access considerations
Work from manufacturer load tables and relevant standards (eg BS EN 12811); typical working platform loads fall in the 1.5-4 kN/m² range depending on trade and materials. Assess concentrated loads from plant or stacked materials, use baseplates with soleboards (minimum 150 mm timber where required) and specify spreader plates or piling on soft ground. Provide stair access for routine movement and position it to limit unauthorised climbs.
Calculate imposed loads conservatively: assume 0.75-1.0 kN per operative, add material loads and verify per-bay capacity-eg two operatives plus a pallet of blocks can easily impose 4-6 kN on a small bay. Check ground-bearing capacity with a site probe; on sites with less than 100 kN/m² bearing pressure, you should employ larger spreader beams or piled pads. Ensure access towers and stair units are rated for the same loads and located to avoid obstructions during material handling.
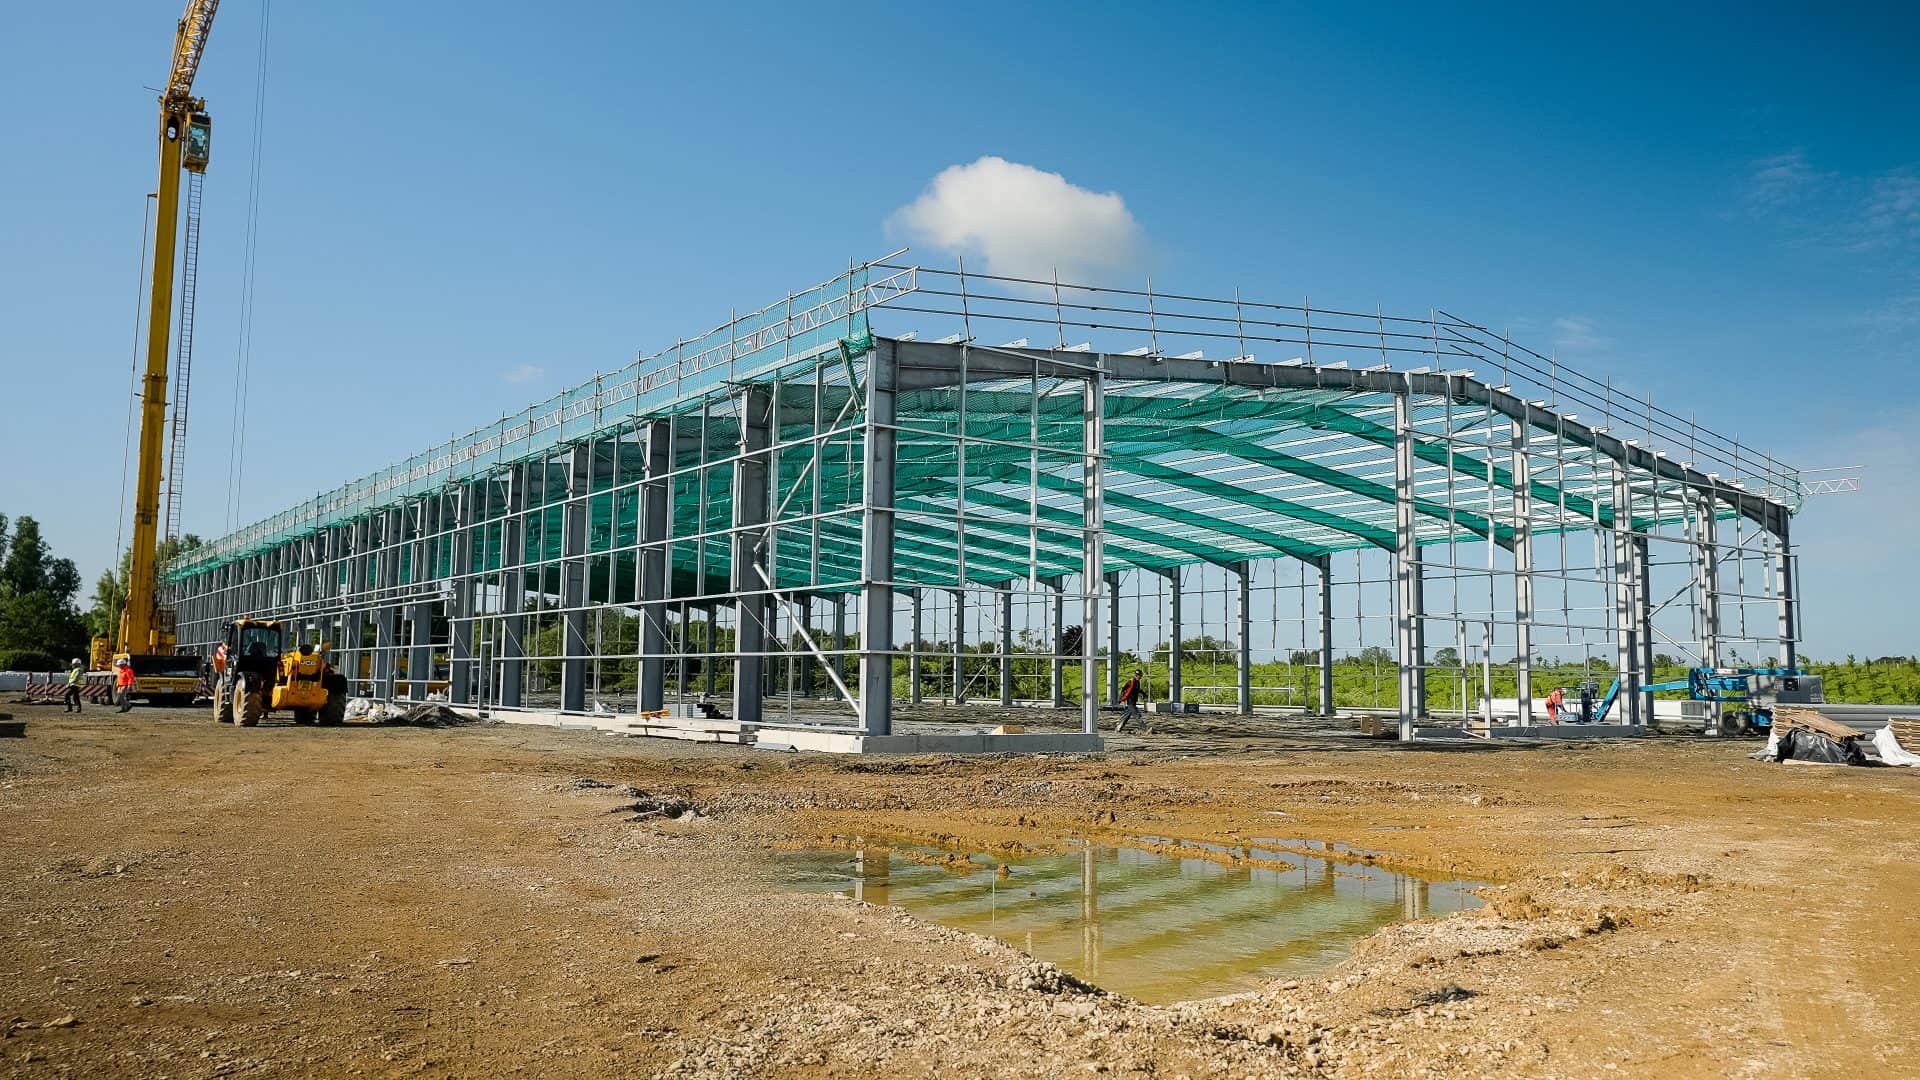
Erection Procedures and Sequencing
When you sequence erection, break the job into repeatable modules and plan lifts so crews work top-down in 2-4 metre bays; this often halves disruption and, on retrofit projects, has cut onsite labour by up to 40%. Assign a lead rigger to coordinate crane lifts, inspection of anchor points and the handover of completed bays, and schedule tie-in and bracing checks every shift to prevent progressive failure during build-up.
Efficient assembly methods and pre-assembly strategies
You should pre-assemble standard bays in a safe area adjacent to the façade-common module sizes are 2m or 4m-which lets a two- to three-person team lift and secure whole modules by crane, reducing platform time. Use kitting (tagging components to bays), assembly jigs and a single-point quality check; projects using these methods often report assembly rates improving from 10m2/hr to 15-20m2/hr on straightforward elevations.
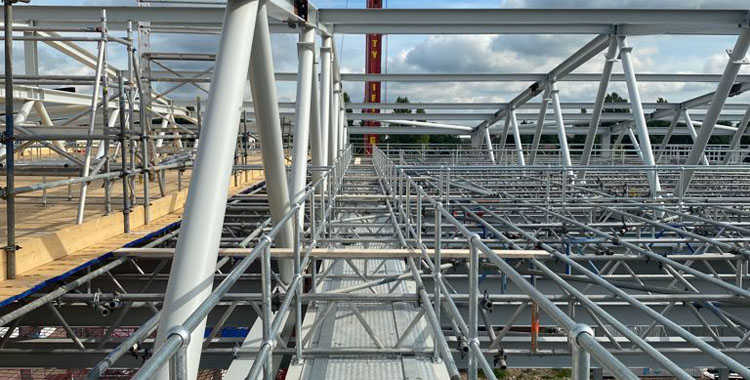
Tie-ins, bracing sequence and fall-protection integration
You must install primary tie-ins and bracing before removing temporary supports, typically tying in at regular intervals (commonly every 4-8m depending on scaffold type and load) and fitting diagonal bracing as each second lift is completed. Integrate fall-arrest anchor lines and edge protection early so your crews work from a secured system rather than retrofitting protection after the scaffold reaches height.
Sequence the work so base plates and soleboards are set, then erect the first lift and install the initial tie-ins; next add diagonal and ledger bracing as you progress, with horizontal bracing at corners and openings. For example, on a 12m façade you might place ties at 4m vertical centres and every 6-8m horizontally, fit bracing across every 2-3 bays, and install a continuous lifeline before crew access above 2m to avoid fall hazards and prevent instability from untied sections.
Tools, Equipment and Temporary Aids
You must choose gear that matches the scaffold type and load: use rated couplers, adjustable baseplates and class-appropriate boards; carry out a visual inspection before each shift and a formal weekly check, and withdraw defective items. Use tool lanyards to prevent dropped-tool incidents and non-conductive poles when working near live services. For example, selecting the correct board span (maximum 3.0 m for 38 mm boards under light loading) avoids overloading and collapse risks.
Mechanical hoists, platform systems and material handling
You should deploy mechanical hoists rated typically between 250-1,000 kg and set lift speeds around 10-15 m/min for safe, controlled lifting. Prefabricated platforms (commonly 0.6-1.2 m wide) speed erection and reduce manual handling; on repetitive lifts, a 500 kg hoist can remove dozens of manual lifts per day. Always secure materials to platforms, follow manufacturer load charts and ensure a competent operator controls the hoist.
Edge protection, guardrails and anchorage solutions
You must fit guardrails to a top height of approximately 950 mm with toe boards at least 150 mm high and gaps minimised. Use certified anchor points and lifelines rated to 12 kN for personal fall-arrest where required, and install temporary mesh or kickboards on open façades to contain debris. Conduct a load assessment before using existing ties or anchors as fall-arrest points.
Prefer prefabricated guardrail modules and tested anchors to makeshift fixes: installers should tag anchors with load ratings and test certificates, and you should keep a register. Avoid using scaffold tubes or decking as anchor points unless engineered for that purpose; if you must, arrange a pull test and record results. Daily visual checks and documented inspections after alterations or severe weather keep the system reliable and safe.
Training, Competence and Supervision
You must certify scaffold teams with recognised schemes-CISRS for scaffolders and PASMA/CITB where applicable-and match competence to task complexity. Practical on-site assessments, daily scaffold inspections and documented handovers keep pace without sacrificing safety. Schedule task-specific refreshers every 12-24 months and log training records. Studies show that properly trained crews complete erect/rework phases faster while producing fewer incidents, so investment in competence directly supports both speed and safety.
Worker qualification, task-specific training and refreshers
You should insist on NVQ Level 2/3 or CISRS cards for scaffold operatives and provide task-specific training for ledgers, ties, loading and working-at-height systems. Use mentorship and documented competency checks every shift for new hires, and formal refreshers every 12-24 months. Include tower and lifting training (PASMA, slinging, crane signalling) so your crew can safely meet output targets without introducing latent hazards such as improper ties or overloaded decks.
Supervision, permits-to-work and communication protocols
Your supervisors must issue and close permits-to-work that detail scope, duration, safe working loads and exclusion zones; they should also run 10-15 minute toolbox talks each shift and use radios or defined hand signals for lifts. Maintain supervisor-to-crew ratios determined by risk assessment-commonly 1:8-12 on medium-sized sites-and require documented handover when shifts change to prevent unauthorised access and overloading.
Make permits explicit: include scaffold reference and drawings, load rating, anchor checks, a 10-point inspection checklist, lifting plan, weather limits (commonly suspend operations above 25 mph gusts), emergency contact and the authorised signatory. Require supervisors to sign at start and close at finish with scanned records for audits. Enforce stop-work authority for any team member spotting unsafe conditions so communication prevents incidents before they escalate.
Inspection, Maintenance and Monitoring
You must establish a programme of inspections and monitoring that combines daily visual checks with formal audits; for example, carry out a pre-use check in 2-5 minutes, a competent-person inspection weekly, and an immediate check after storms or impact incidents (winds above 40 km/h (25 mph)). Use digital tags, timestamped photos and vibration or load sensors where possible so you can track trends and remove defective components without delay.
Pre-use, routine and post-modification inspections
Your operatives should perform a quick pre-use checklist-guardrails, planks, baseplates and ties-before stepping on the scaffold. Schedule a formal weekly inspection by a competent person who measures plumb, checks tie integrity and verifies load assumptions. After any alteration or extension, require a signed post-modification inspection and load verification before reuse; do not return the scaffold to service until the inspection is complete.
Documentation, corrective actions and continuous improvement
You must keep clear, dated inspection records-paper or preferably digital-with photos, defect severity and assigned actions. Classify defects (e.g. immediate danger fixed within 24 hours, major within 72 hours) and track closure. Use KPIs such as time-to-close and recurring-defect rates to drive training and supplier changes; projects that monitor these metrics typically reduce repeat faults significantly.
When a defect is raised, assign an owner, set a deadline and verify closure with a follow-up inspection and photo evidence. Conduct root-cause analysis (5 Whys or Pareto) on recurring issues-common findings include incorrect tying or substandard planks-and implement corrective measures like revised method statements, targeted toolbox talks and revised procurement specs to prevent recurrence and improve your safety performance.
To wrap up
Upon reflecting, you must weigh the benefits of rapid scaffold erection against methodical safety checks, establishing clear procedures, competent supervision and adequate training so your team works efficiently without cutting corners; by planning, using correct equipment and enforcing inspections you reduce delays and incidents while maintaining productivity and compliance.